Monday, February 16, 2009

How To Import 103: Gamecube and Wii

Importing for the Gamecube and the Wii


The Gamecube and the Wii have many similarities in the way you can play imported games. The easiest for both is probably the FreeLoader. The FreeLoader is a swap disk made available by Code Junkies, the creators of Action Replay, among other things. The Gamecube FreeLoader works almost flawlessly, with only a very few games not working quite properly. Even those will play, with stuff like Heads-Up-Displays not displaying properly.

The Wii FreeLoader is a bit of a different story due to firmware updates. If you keep your Wii updated, then there's the chance that any of those updates could break the functionality of the FreeLoader. Getting one means that you could run the risk of buying something that doesn't work. Hey, at least it's cheap (around $20 + shipping).
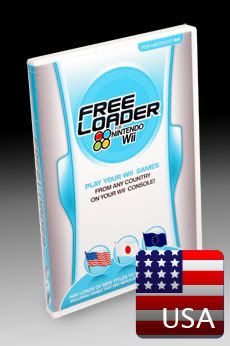
Wii Freeloader

The other method is by mod-chip, which requires soldering a chip to the internal circuits of your Gamecube or Wii, and sometimes installing an external switch along with it. It's a high risk procedure that can be expensive (especially if you break your console). Furthermore, since the Wii is a more recent console, mod-chips haven't yet been perfected for it, and there may or may not be a mod-chip with all the functionality that you want. Even further furthermore (I know, horrible grammar =P), mod-chips are a legal grey-market. Since mod-chips generally allow you to play burned games as well, and downloading a game you don't own (or circumventing any copy protection on a disc in order to have a copy) is illegal, the legality of the mod-chip itself is somewhat in question. Still, sometimes a mod-chip provides you the best functionality, and it's up to you to find the right chip and assume the risks associated with installing it.

However, the GameCube has a third option. The only difference between the motherboards of the two different regions is a single connection. If this connection was never connected, it is one region. If it is connected, it's the other. You can actually install a switch to switch the GameCube back and forth between the two regions. This still requires some soldering, but it's a relatively easy procedure.

And, of course, there is ALWAYS the option of purchasing a Gamecube or Wii from Japan to play your games on. This is generally the most expensive, most effective, and safest way to play any of your import games.

Buy a Japanese Gamecube HERE

Buy a Japanese Wii HERE

Buy the Gamecube Freeloader HERE

Buy the Wii Freeloader HERE

I'm afraid you'll have to search for mod-chips yourself, though ;_;

Have fun playing!
-Kuro Matsuri

Tuesday, February 3, 2009

How To Import 102: SNES/Super Famicom and N64

Importing for the SNES or Super Famicom, and importing for the N64


To continue in the How To Import series, I'll start this post of with the Super Famicom (the Japanese name for the Super Nintendo.)

It's really easy to get Japanese Super Famicom (SF) games to play on your American console, but there is a bit of risk, and it isn't QUITE perfect.

For the vast majority of SNES/SF games only have a physical region lockout. As such, the only thing keeping you from playing these games is two little plastic pieces that block a Japanese cart from reaching the pins. Carefully break these pieces off with a pair of needle-nose pliers, and voila! You can play Japanese Super Famicom games on your American SNES!

SNES mod

For more detail plus pictures, try this site: Step-by-step Instructions for How to Mod your Super Nintendo to Play Super Famicom Games

The only catch is that a FEW games are locked out using a CIC check. Getting around this is seems to involve modifying the cart itself, and really isn't recommended, especially if you're a collector. Then again, if you're REALLY a collector, you'll want to buy a Japanese Super Famicom instead of breaking off anything in your American one, but that's all up to you.

If you own the SNES Jr. (the smaller remake of the console), here's a great way to mod it without actually breaking any part of the console:


http://www.youtube.com/watch?v=Jm7-OZmmt7s

Modifying a Nintendo 64 is very similar, but admittedly a bit more difficult. The plastic pieces don't break off nearly as easily, but the method is more or less the same. To do it safely, it takes a bit of work and a tool or two (most notable the Gamebit and Triwing screwdriver tools, special screwdrivers for opening Nintendo consoles and cartridges), as described here: N64 Import Mod. You could probably just use pliers to reach in and break them off like the SNES mod, but it is pretty easy to break more than what you meant to this way. Of course the SAFEST way is still to buy a Japanese N64, but that's also the most expensive method (assuming all goes well).

To buy a Super Famicom, try HERE

To buy a Japanese N64, try HERE

To buy a Gamebit or Triwing tool, try HERE

Have fun playing!
-Kuromatsuri

Sunday, February 1, 2009

How To Import 101: NES/Famicom

Importing for the NES or Famicom


So, my discussion in my previous post about why Final Fantasy VII Advent Children Complete that comes with the Final Fantasy XIII playable demo is easily playable on local consoles reminded me that perhaps not everyone out there knows what can be imported and played with no problems, and how to get around the ones that can't. This will take several posts, but I'll start off with Nintendo consoles, move on to Microsoft consoles, and then finish with Sony consoles.

First, Nintendo:

The original NES (or Famicom in Japan):

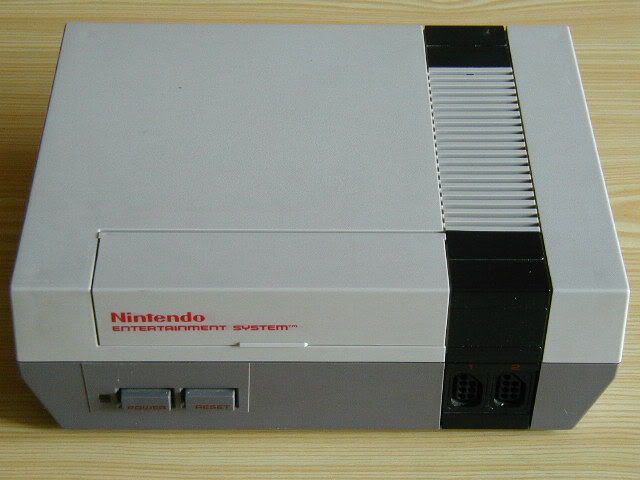
Here's the original NES, the one you probably know all too well:
Original NES

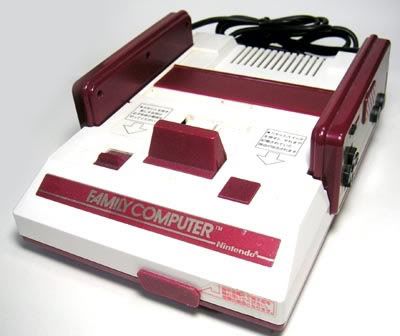
And here's the original Famicom, the one released in Japan:
Original Famicom

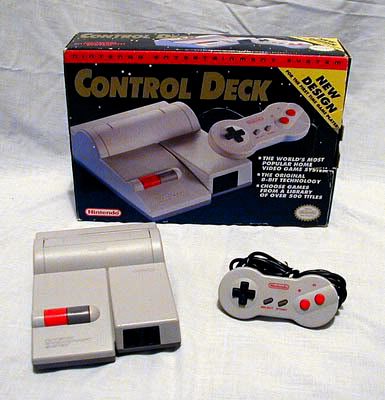
The only REAL difference between the two (at least as far as importers are concerned) is the fact that they use a different number of pins for putting games in the console. As such, as a stand-alone, imported games will not work in your home console. What's more, Japanese games are much smaller in size than American ones. They wouldn't even reach the pins, unless you happen to have one of the top loaders shown here:
Top Loader

With the top loader, both the Japanese and the American models look very similar (though, since the original Japanese one already loaded from the top, the re-release was called the A/V Famicom instead, due to the fact that it could use normal A/V cables. The composite ones. The red, white, and yellow ones =P). However, they STILL use a different number of pins, so importing isn't straightforward.

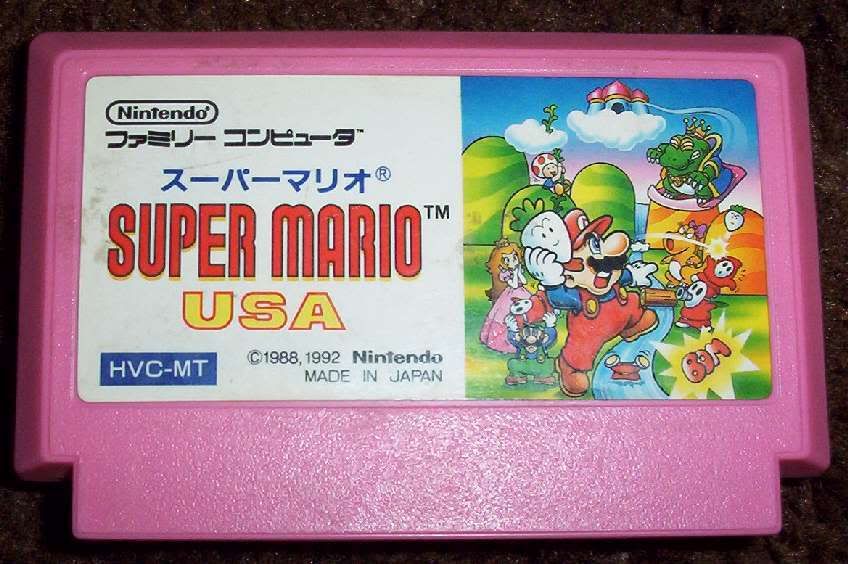
Here's what a Japanese cartridge looks like:
Photobucket

There are a couple of options for making Japanese cartridges work. The cheapest method is a pin adapter. It simply takes the pins from the Japanese games and attempts to reroute them to the proper pins for the American console. It doesn't always work. Also, there are a number of more sophisticated adapters, and they often have a mini-Famicom built in to the adapter itself to get more accurate gameplay. However, all of the ones I've seen and tried have truly crappy build quality, and they are far from recommended.

Furthermore, the original Famicom isn't recommended. Unless it's modded, the original Famicom only uses an RF out, and Japanese channels are at different frequencies than American channels, so you might not be able to tune in to the frequency the original Famicom produces. You might get lucky around channels 95 or 96 or so, but you don't want to count on getting lucky.

The recommended option is unfortunately the most expensive. And that is to import an A/V Famicom. That is the only way to consistently play these games in their original quality. Sad, but true.

You can buy one (if they have it in stock) HERE

Woo, that was longer than I thought. I'll have to continue this later. Prepare for How To Import 102! Coming to you soon!

Have fun playing!
-Kuromatsuri
Related Posts with Thumbnails